
Network Control lets you see every device in your Workspace and send settings changes to any of them — individually or all at once — over mesh, cell, or satellite. A Workspace Admin role is required to send changes; any user can view the device list.
Opening Network Control
- Open the Somewear plugin.
- Tap Settings.
- Tap Network Overview.
The Network Overview screen opens. Your device appears first in the In Range section, labeled Your Device. In Range and Active sections expand by default; Inactive is collapsed — tap the section header to expand it.
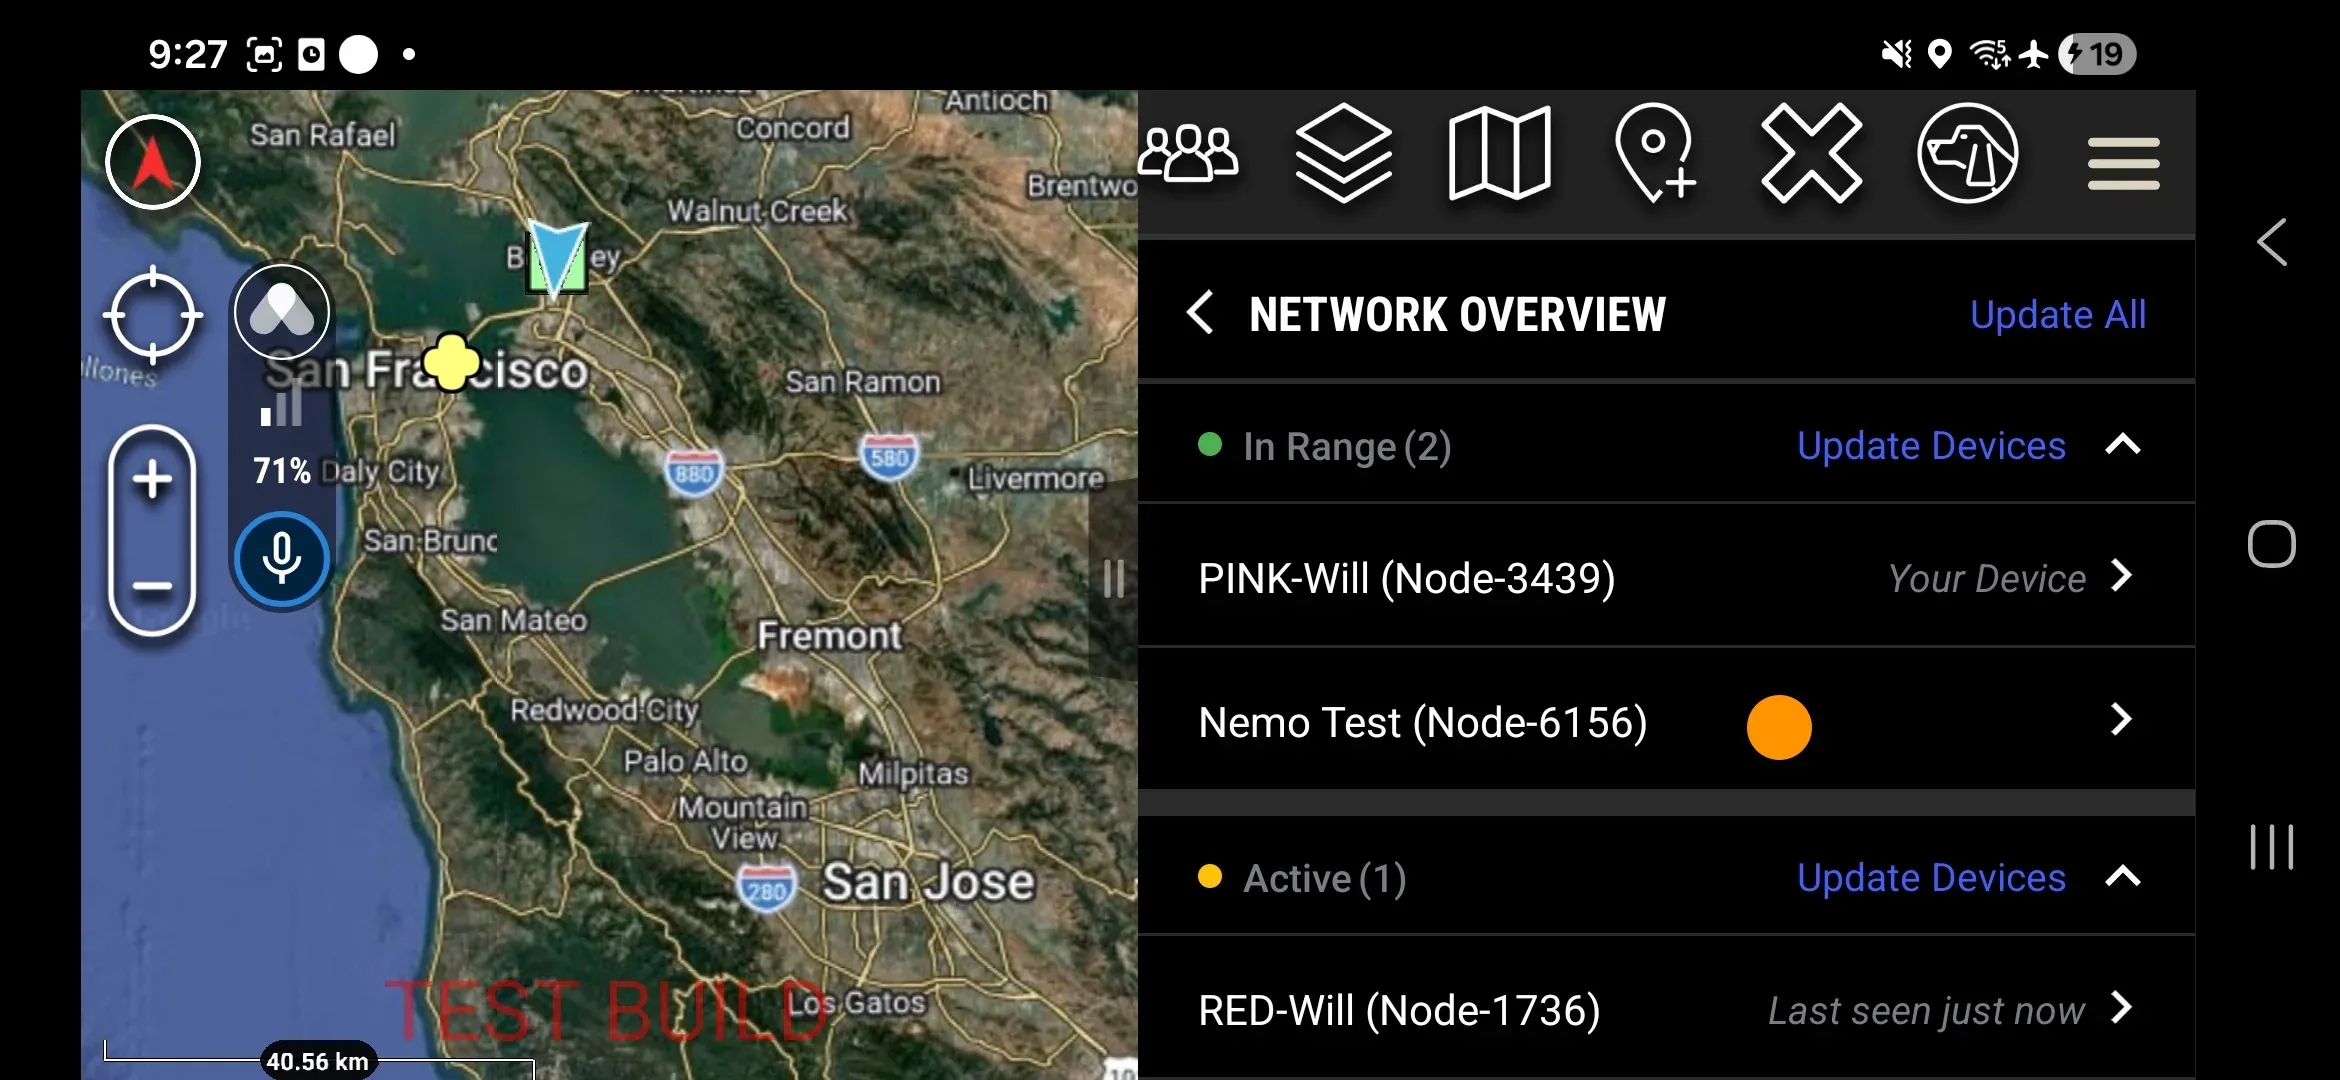
Each row shows the paired user’s callsign (ATAK) or name (iOS), device type, last four serial characters, and last-seen timestamp. Non-Admin users can view the full device list but cannot tap any device row other than their own.
Device Status
Devices are grouped into three sections based on how recently they were seen and how they are connected.
| Status | Color | Meaning |
|---|---|---|
| In Range | Green | Currently reachable over mesh or a high-bandwidth connection (Wi-Fi or LTE). Live and low-latency. |
| Active | Amber | Last seen less than 90 minutes ago. Settings changes queue and deliver on next contact. |
| Inactive | Gray | Last seen between 90 minutes and 14 days ago. Still a Workspace Member; rows are not tappable. |
| (not shown) | — | Last seen more than 14 days ago. Filtered out entirely. |
Send Settings to a Single Device
Tap any In Range or Active device row to open its settings screen. Inactive device rows are not tappable — to send settings to an inactive device, use Update All from the toolbar; the command queues and delivers when the device reconnects.
In Range device: Live settings are fetched when you open the screen (12-second timeout). If the fetch times out, the screen falls back to cached or Workspace defaults and shows an info icon.
Active device: The screen shows Workspace defaults, not live settings. Changes queue and deliver when the device next reports in.
- Tap the device row.
- Adjust the desired settings.
- Tap Queue Settings Changes.
- Tap Confirm.
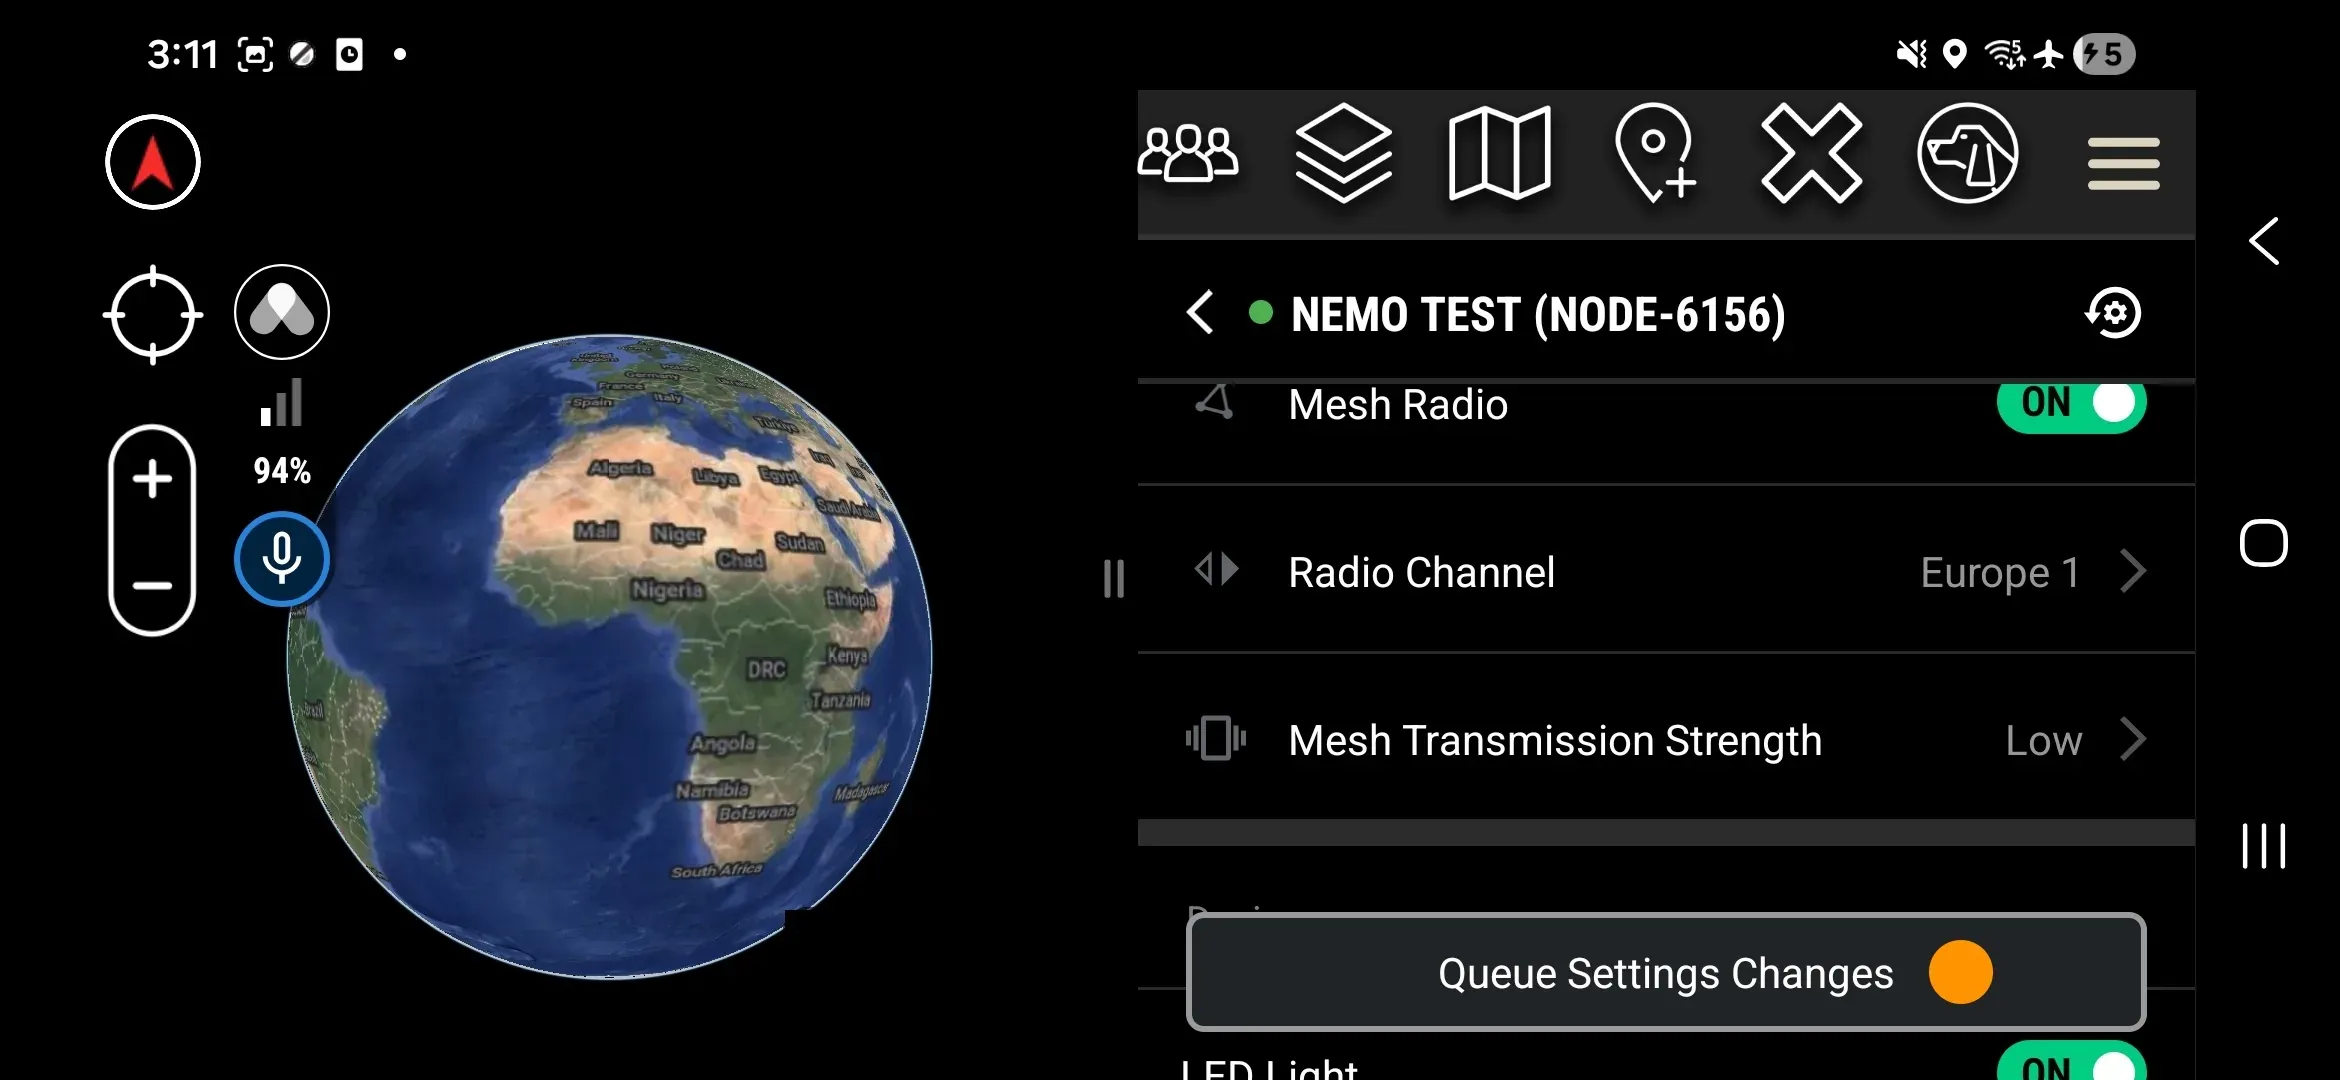
After you queue a change, a status overlay appears on the device row:
| Overlay | Color | Clears |
|---|---|---|
| Update Queued | Gray | Automatically, on acknowledgment or error — can take up to 10 seconds over mesh |
| Settings Updated! | Green | Automatically, after ~3 seconds |
| Update Failed! | Orange | Manually — tap again or refresh the screen |
On the remote device, a toast notification appears: “Your settings have been remotely changed.”
Bulk Settings Update
Deploy a settings change to multiple devices at once — useful for switching radio channels, disabling LEDs before an op, or turning off satellite for a group.
- Tap Update Devices on a section header to target that group, or tap Update All in the toolbar to target all Workspace devices. The device count appears in the settings screen header.
- Adjust the desired settings.
- Tap Queue Settings Changes.
- Tap Confirm.
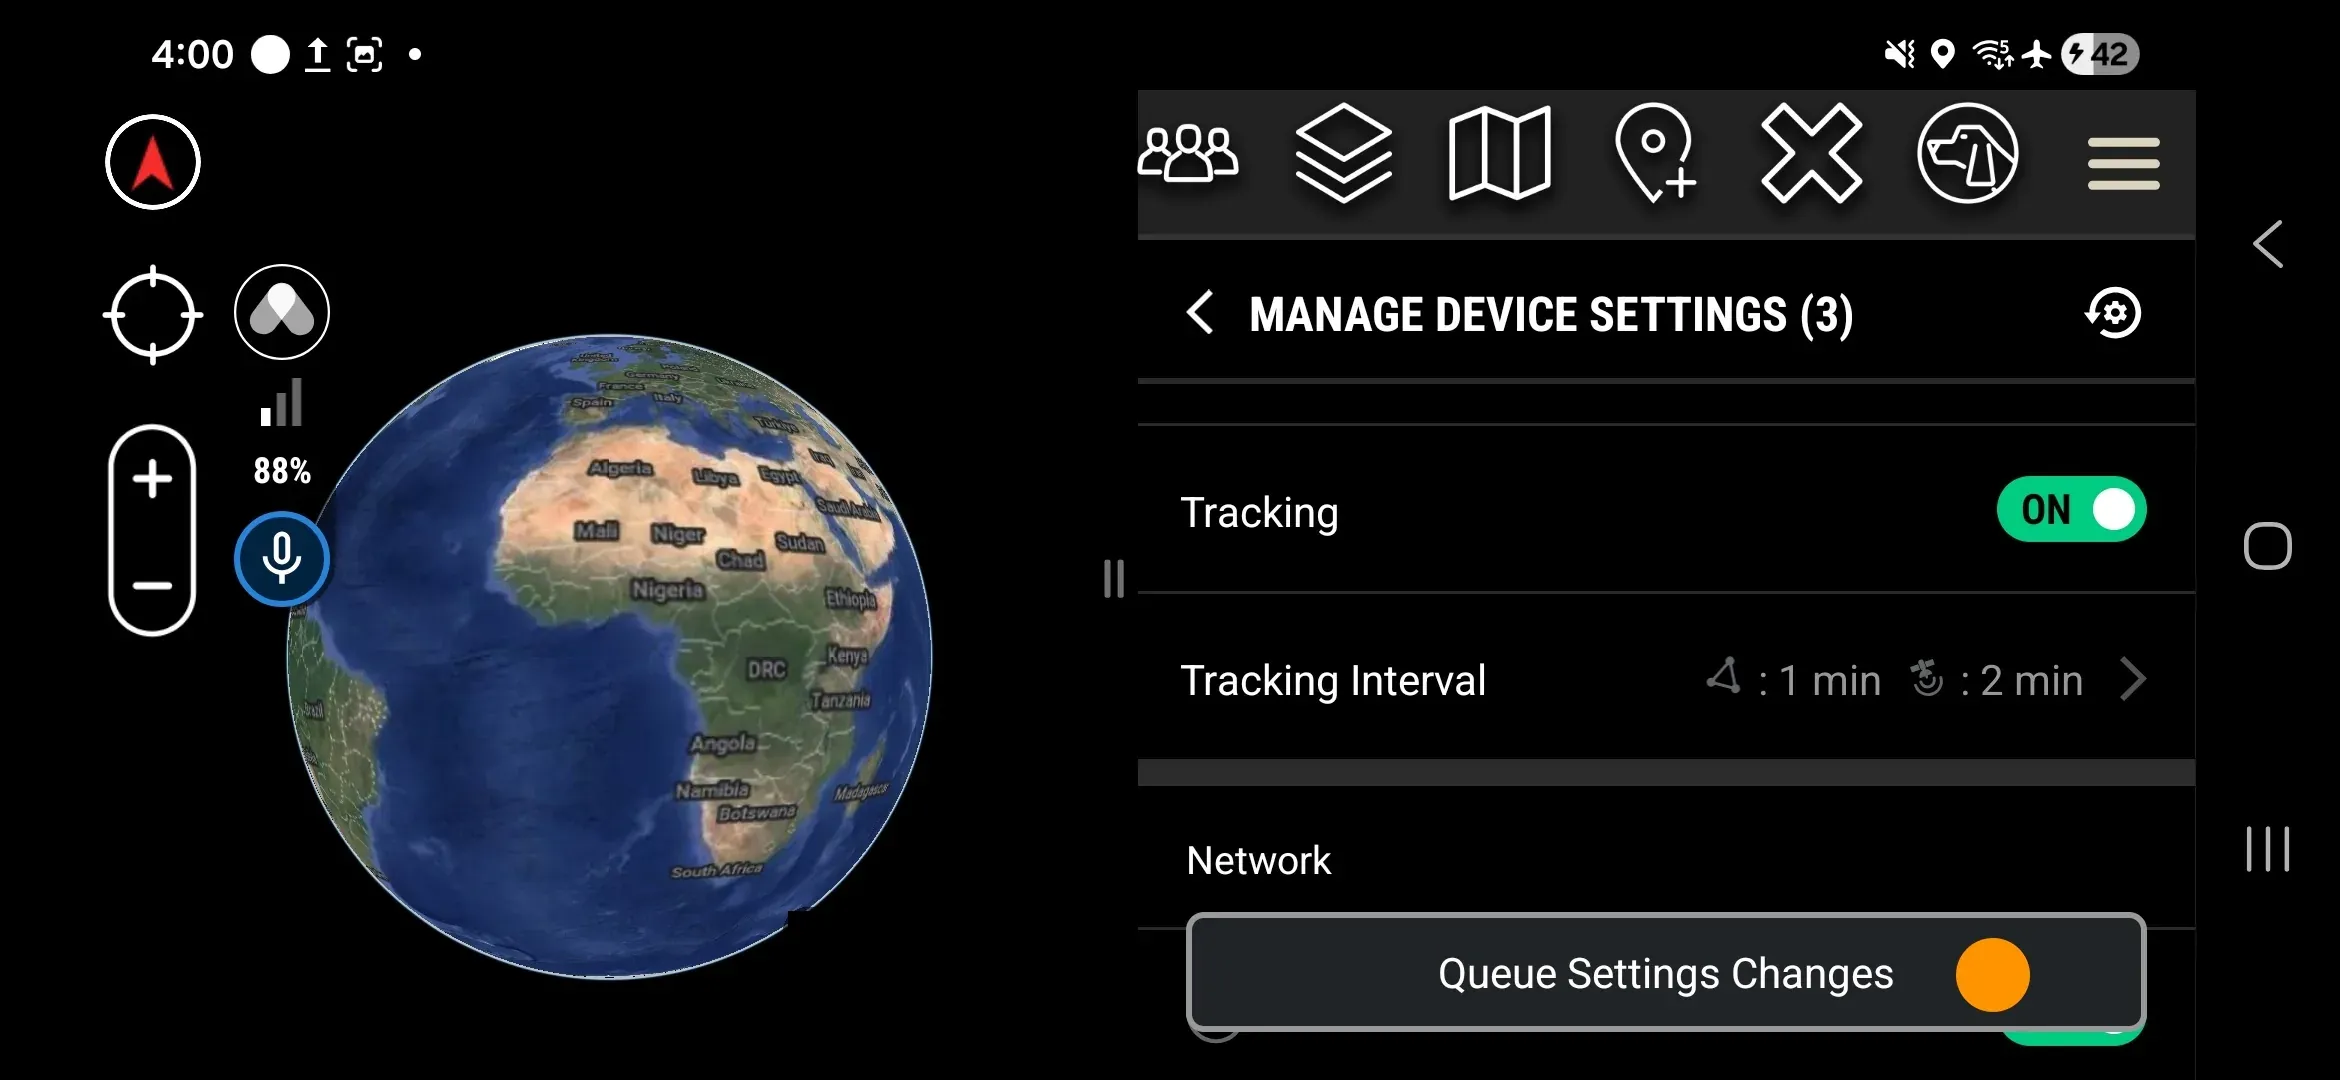
To make the new settings the baseline for future joiners and devices that revert to defaults, check Update Workspace Default settings in the confirmation dialog. This checkbox appears only on a high-bandwidth connection — on mesh only, defaults are not updated but the change still reaches devices.
Each affected device receives an individual status overlay.
Endurance Mode is one of the settings you can push to a device or a Workspace from Network Control. It defaults to OFF, and can also be set as an Organization or Workspace default.
Workspace Default Settings
Workspace Default Settings define the baseline applied to new devices joining the Workspace and any device that reverts to defaults. To edit them directly: Workspace → Active Workspace → Workspace Default Settings. A high-bandwidth connection is required — all controls are disabled offline.
Remove Device
Remove Device (in the single-device settings screen) removes a device from the Workspace. Workspace data is deleted on the device and cleared from paired hardware. The row shows Pending removal until confirmed. If the device is offline, removal takes effect on reconnect.
This action cannot be reversed while the device is off-grid. The device requires a high-bandwidth connection to re-join after removal.
- Tap the device row.
- Tap Remove Device.
- Tap Confirm.