
A resource gives a field identity to a Node that isn’t paired with an End User Device (EUD). A standalone Node in a Workspace shows on the map under its serial number as a callsign; assign it a resource and it presents instead as a named asset — a vehicle, trainee, support member, or rescuee. Setup is two steps: create the resource in the Workspace, then update the Node’s identity to the resource.
A Node must be assigned as a resource to relay mesh traffic and act as a backhaul; a standalone Node operates only as a satellite tracker. Even as a resource, a Node does not receive data sent from the Somewear server.
Create a resource
Creating a resource requires Workspace Admin permissions.
- In the Somewear web application, open Account (top right) and select the target Workspace.
- Select the Resources tab to view, create, or archive the Workspace’s resources.
- Select + Add Resource.
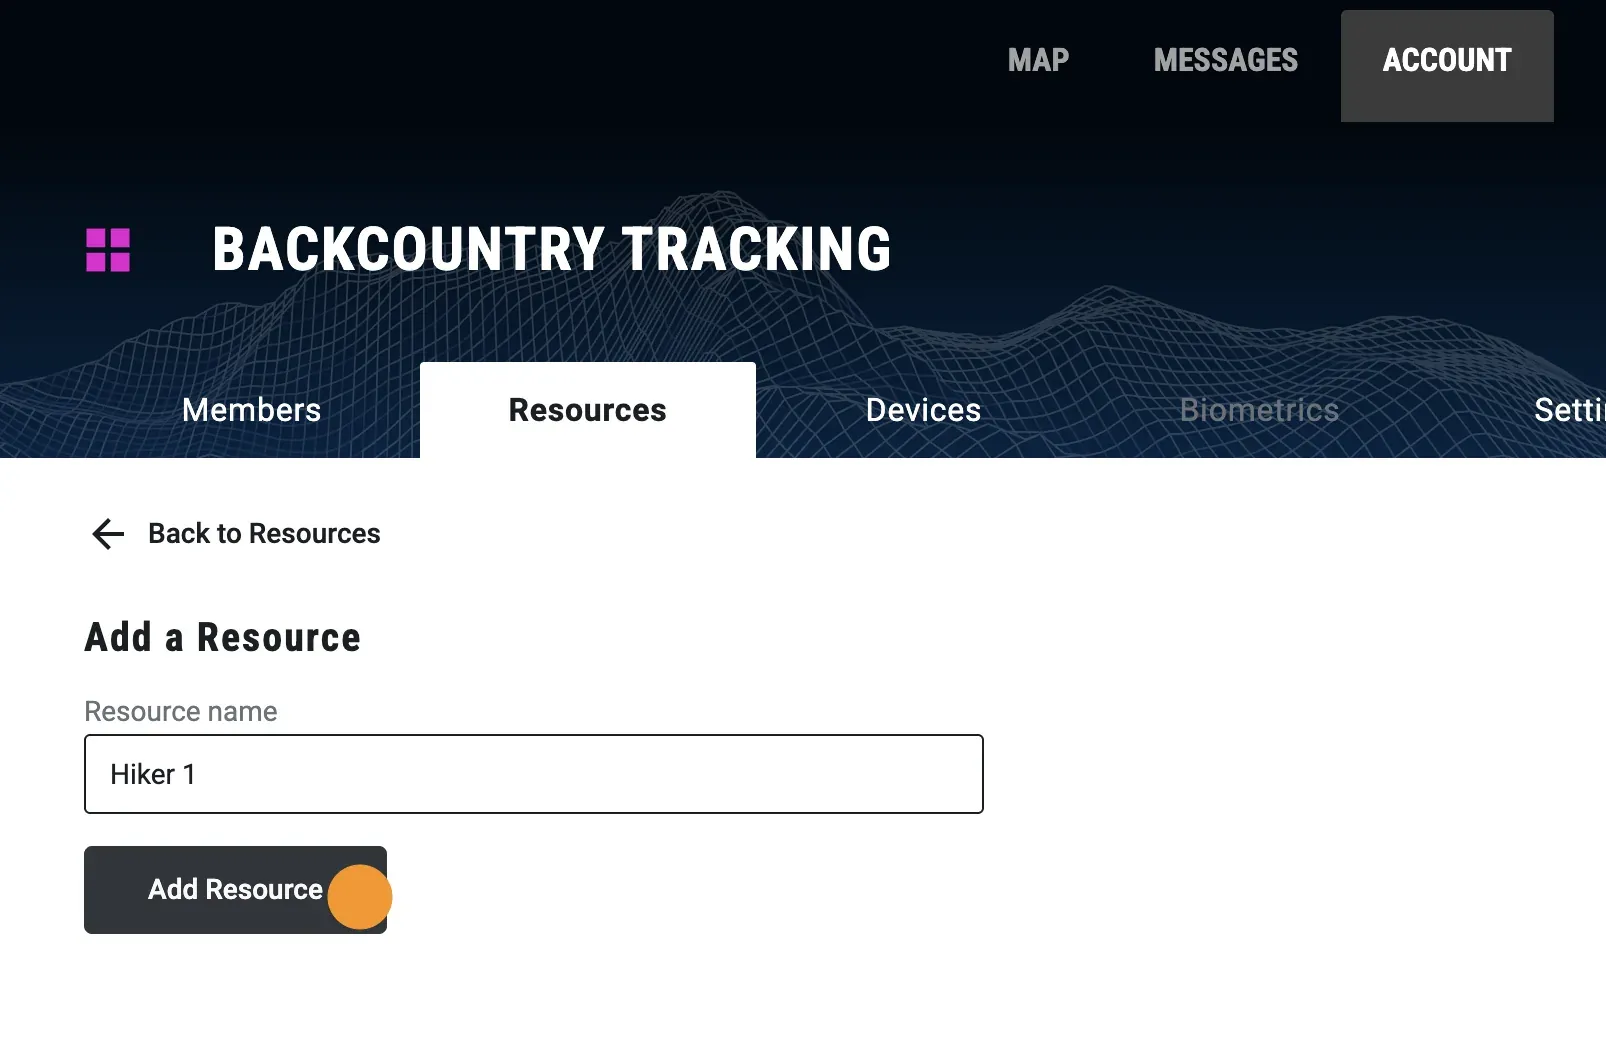
- Enter a name for the resource and click Add Resource.
Assign a Node to a resource
Assigning a Node sends an over-the-air (OTA) settings update to the Node by satellite (satcom), so the change is not instantaneous.
- Select the Devices tab.
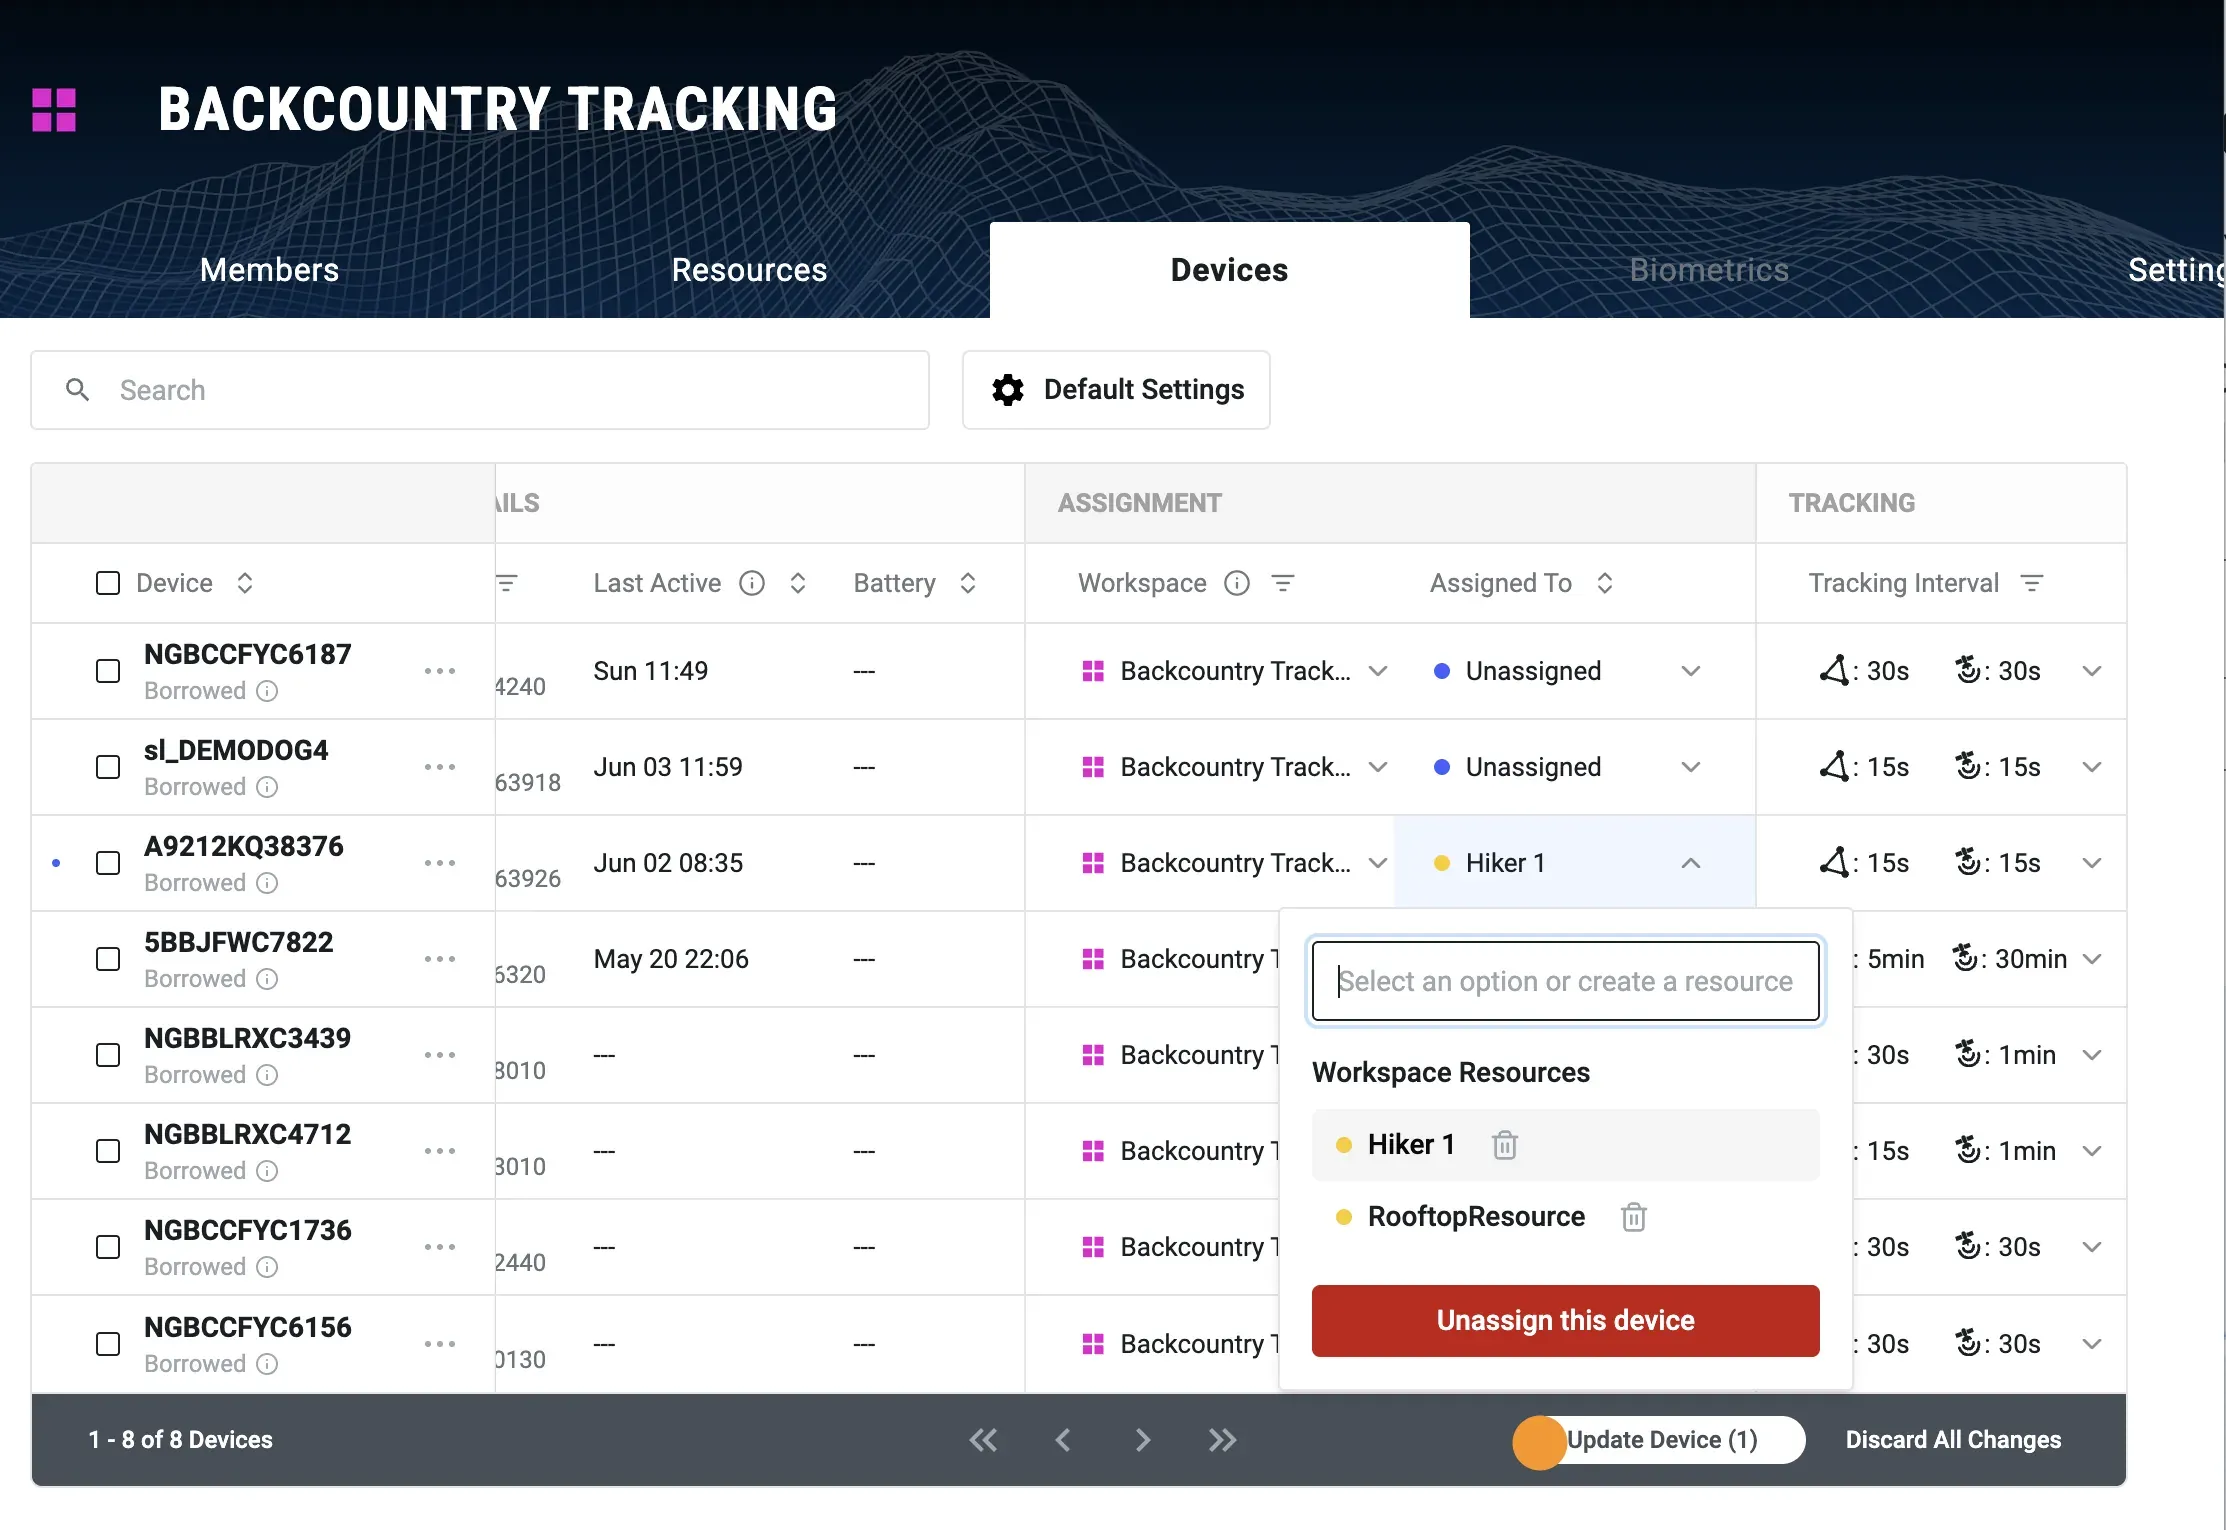
- Find the target Node and open the dropdown in its Assigned To column.
- Select the resource identity for the Node.
- Click Update Device (lower right of the Devices table) to send the update.
The Assigned To dropdown sets a resource identity only. It can not assign a Node to an operator’s user callsign or identity — that pairing happens on the device, not in the Devices table.